The rectangular mask
May 08, 2020
it took a while but here is the second part of the mask making post. Part one with the half round mask can be found here.
The rectangular mask
I got the pattern from a face mask I bought in Japan. It is small and designed for petite women, therefore it is much too small for my boyfriend. But as it's only a rectangular, you can always change the length of the pattern and the elastics.Disclaimer: These cloth masks are not designed to protect you from COVID 19. They may protect others though!
You need:
- scissors
- elastics
- paper
- pins
- sewing machine
- ruler
- iron
- fabric
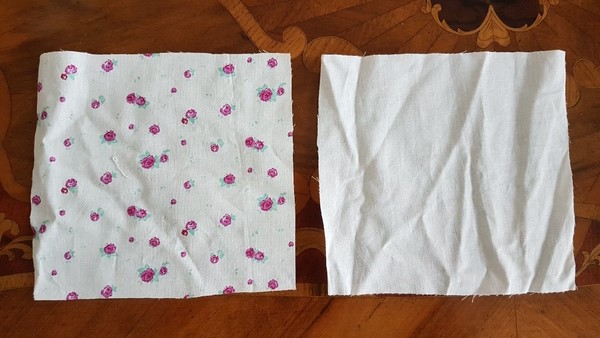
My mask is 17x16cm, I drew it on a piece of paper and cut it. It is much easier to use and does not require drawing freehand on your fabric every time.
It also has all the information I needed directly written on it:
- placement of folds
- placement of elastics
- the opening
Start with pinning the paper pattern onto the fabric. And then cut around it, as the seam allowance is included, no other lines are needed.
Cut your elastics. For this project I used thin elastics because I had run out of the thick white one. My elastics was 21cm long. For small heads I recommend 20cm and bigger ones 22cm.
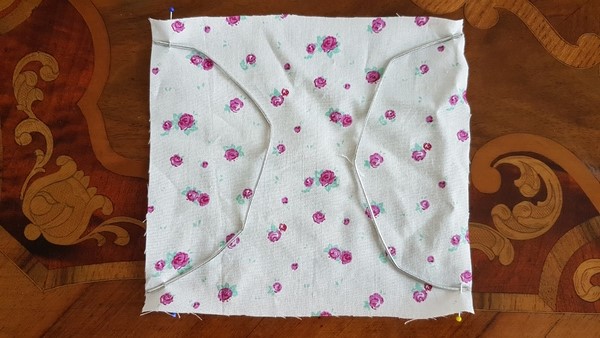
Pin the elastics on the right (outer) side and with the needle on the left side.
Sew around the edges with your sewing machine. And like with the half round mask, go over the elastics a couple of times to secure them.
Before turning it inside out, cut away the edges.
Your piece should look similar to this. Turn on your iron and iron it flat.
Also go over the open part, be sure to fold it in nicely.
The next step would be marking then folding the plaits. At the top and bottom I left about 2cm free and then marked every 1cm with a water erasable pen.
As seen in the first picture, pleat the folds and pin them on the sides.
To be sure that the plaits look even on both sides and then iron it.
The last step is fixing the plaits by going over it with the sewing machine. Go over all the sides and you are done.
All the best,
Auris Lothol


0 Kommentare