Regency dress sewing - the skirt part
June 20, 2021
Hello lovelies,
this part will be all about the sewing the skirt and finishing the dress. Even though it involves a huge amount of fabric, it was less time consuming and easier than the bodice.
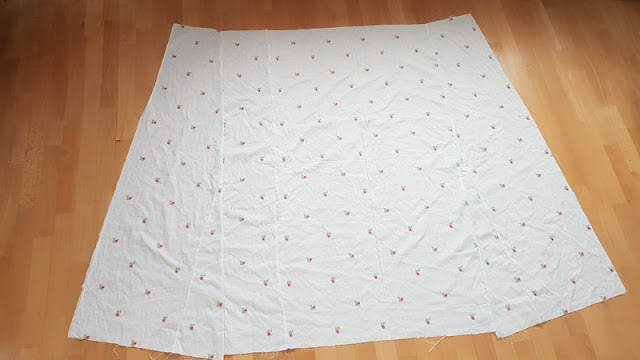
When I held the pattern of the skirt part onto my body, it looked huge. Or maybe I am just tiny.
I kept this length when I cut the fabric. I didn't know how long it would be when sewn onto the dress and I'd rather have it too long than too short because I did not have any more fabric left. In the end I had to shorten it by about 30cm.
As for the front, I folded the sides inwards, pinned them, and sewed it. The instructions for the skirt were a bit clearer at this point but I still had a few questions. No idea if what I did was correct but it kind of worked out.
After the sides I folded down the top and cut it in the middle. There is still a straight line visible at the top, this is were I sewed a tunnel to thread in the white ribbon.

So, this part was weird. This is the bodice pinned to the skirt in a half-round shape. I tried to pin it according to my body shape because the lines from the original pattern looked odd.
I sewed the bodice to the skirt part on the sides first before doing the middle because there was so much fabric at the back.
Most of the back is gathered to fit the middle of the bodice back. It makes such a beautiful train that I kept it deliberately longer than it should be for a house dress. It is also much better at lounging.
The pleats are so messy, I am not used to that in historical costuming.
Here is the look from the original dress. It looks similar to my chaos.
All that is left now, is the hemming of the dress. I don't know why, but it is always my least favourite part.
I marked a centimeter from the bottom, ironed it, measured out 6cm, folded it, then ironed it again.
And that was part two of the dress!
The picture is made about 66 years later. I just realized it after taking the pictures but that's not something I could change. Oh well.
As this was a house dress, I only did activities that I could do inside. And I am pretty sure, napping over a book was very historicaly accurate. 😂
Here is also part two of the video
I hope you enjoyed this!
All the best,


0 Kommentare