Romantic rose headdress tutorial
April 24, 2020
Hello lovelies,
I have another quarantine project which was actually made with scrap material from a bigger project because I hate to throw away expensive material.
It all started with a piece of buckram I had cut away from the sewing pattern. It was about 10cm long and 12 cm wide, not enough for most projects but just enough for a base of a small hat, bonnet or a round head dress. I decided to go for a round head dress, because they are easy to make and also a very quick project.
You will need these materials:
- Buckram
- Fashion fabric
- Felt fabric
- scissors
- needle
- thread
- pins
- flower heads
- glue gun
- 1 or 2 Hair clips
Open the compass and measure out 5cm. Draw a circle on the buckram. It should be 10cm in diameter now. Afterwards, open the compass a bit further to 7cm and draw another circle but on the fashion fabric. Cut out both and lay the buckram piece on the left side of the fashion fabric.
I always use this method to tuck in the seams when working with round shapes:
Take your needle and thread and hand sew around the circle. If you get to the beginning, don't fasten it to the fabric put pull it like making frills. Like magic the fabric will slowly close over the fabric will close over the buckram.
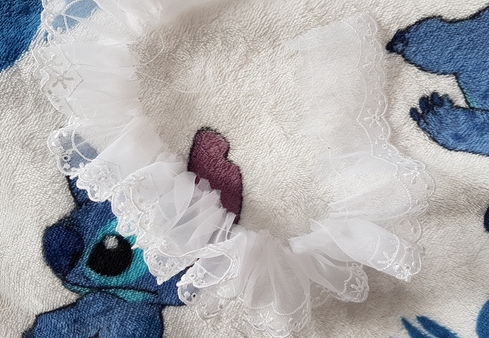
After that, cut the lace about 2 or 3 times the circumference (which is 31,416). Two times the circumference would be 63cm and three times 94,5cm. Of course, anything between that is fine too.
You can either go over it with the sewing machine, set with the largest stitch length, or hand stitch it.
Afterwards pull the thread carefully until the frills form.
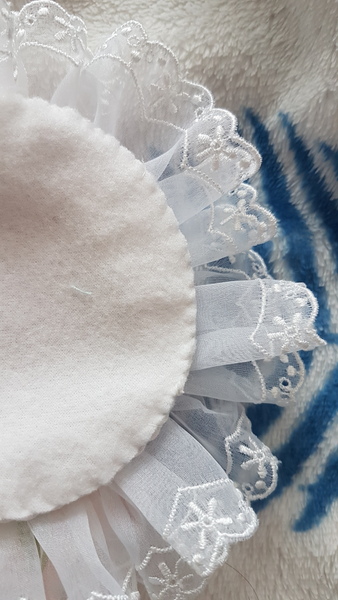
Take the felt piece and lay it over the back side, stitch over it with a hemming stitch. This step hides the buckram and adds even more stability.
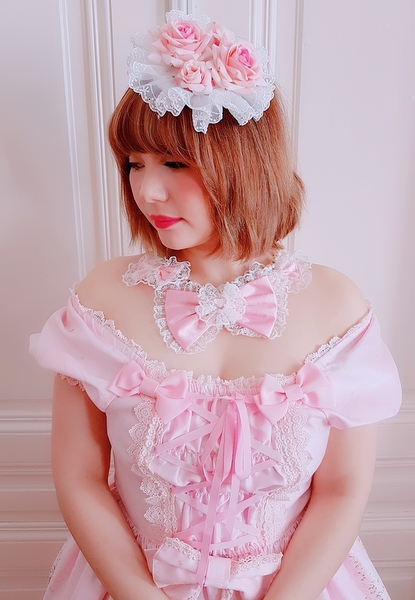
And the final step is adding the flowers. But you can also add ribbons, bows, glitter, pearls or rhinestones. With this base, you can do almost anything.
My coord with my new headpiece is a pretty in pink and the btssb op fits perfectly.
How do you like this project?
All the best,
Auris Lothol


2 Kommentare
Such a lovely tutorial, thank you for sharing it! I will try for sure to create something following it.
ReplyDeleteGreat! Please send me pictures of the finished head dress!
Delete